You are getting dressed for an ordinary Saturday, and the embroidered shirt you want to wear already has plenty to look at. A colored flower sits near the collar; another shirt might have embroidery spread across the front. Your plain tee or camisole could disappear neatly underneath—or peek through in a way that makes the outfit feel busy. Decide by following the embroidery, not by reaching for the same neutral every time.
This visual decision tree helps you choose a base by color and placement, then check the opening where the two layers meet. The suggestions are starting points: fabric thickness, opacity, and the way a particular shirt falls can change the result.
Start with the embroidery’s footprint
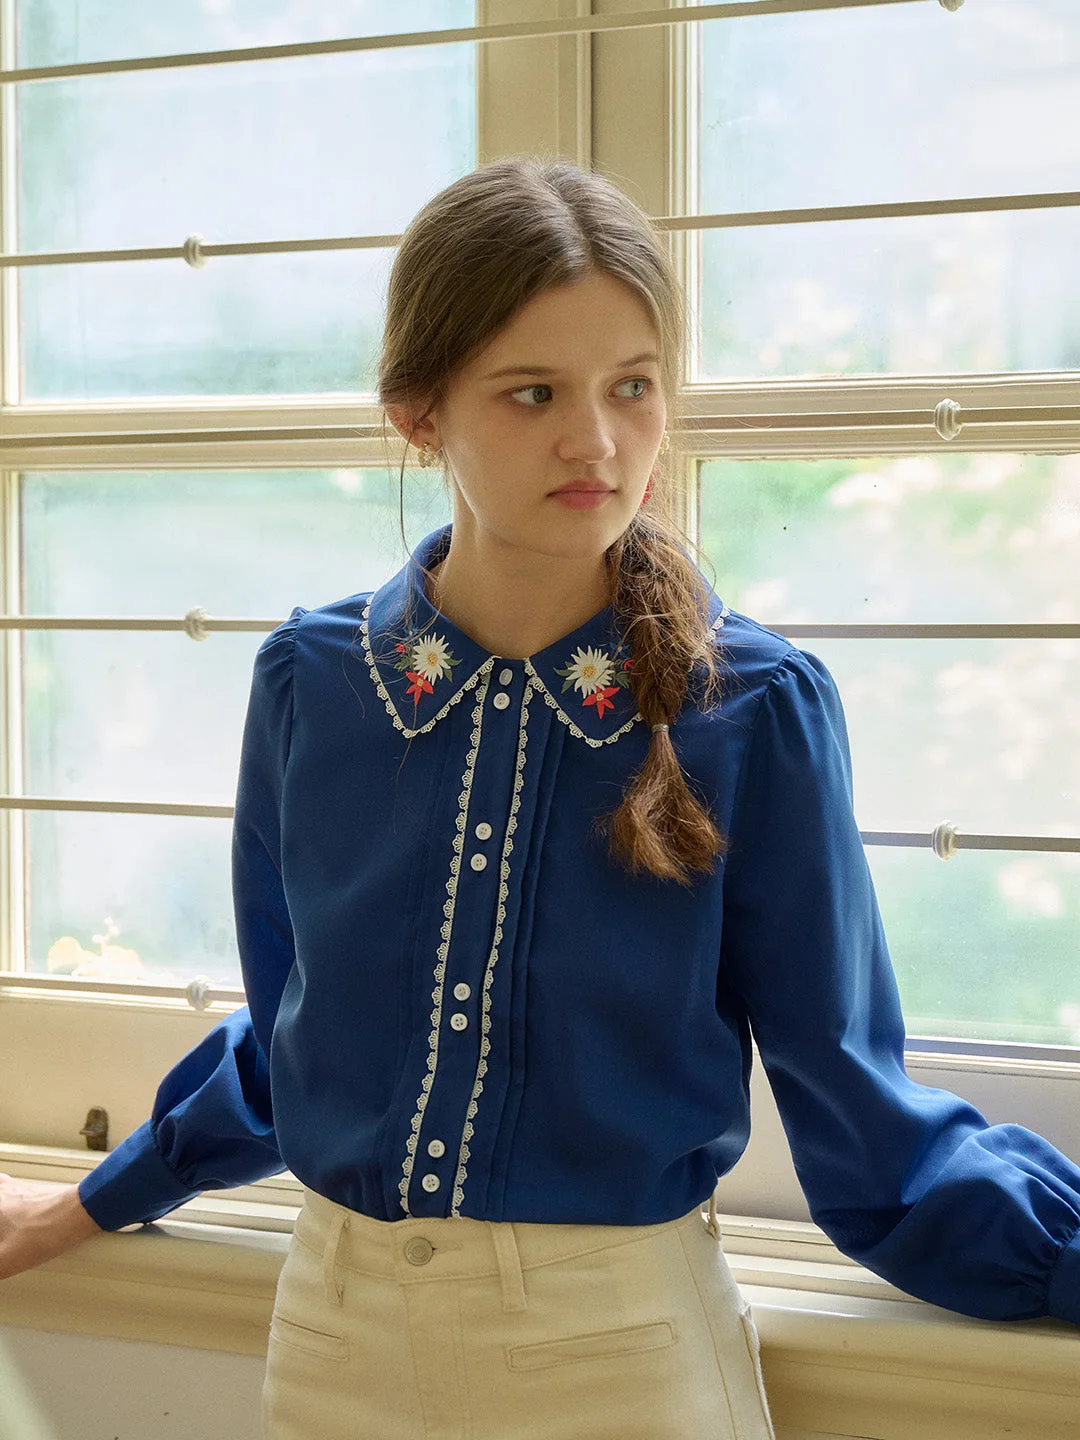
If the stitching is concentrated near the collar or upper chest, treat that area as the focal point. A quiet base in a color already present in the embroidery can frame the detail without adding another strong element. If the thread colors are vivid, a simple white, cream, or similarly restrained layer may give the design room.
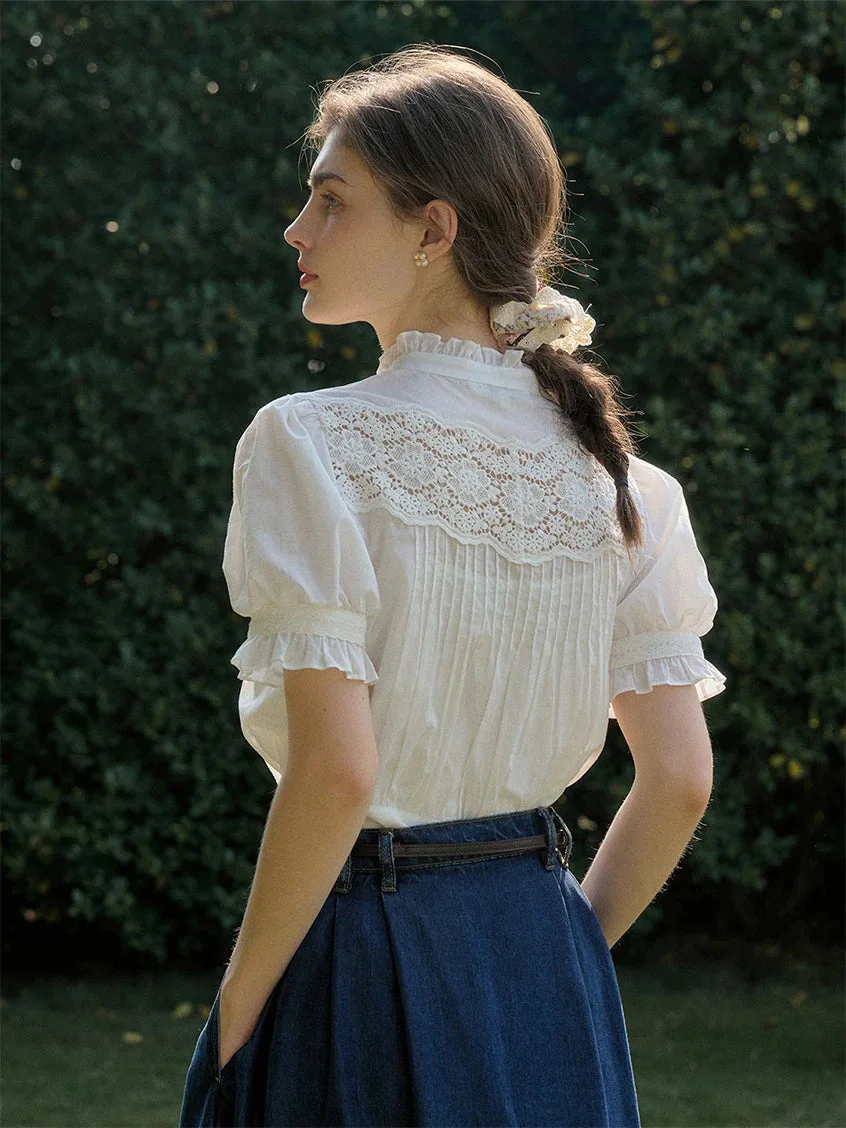
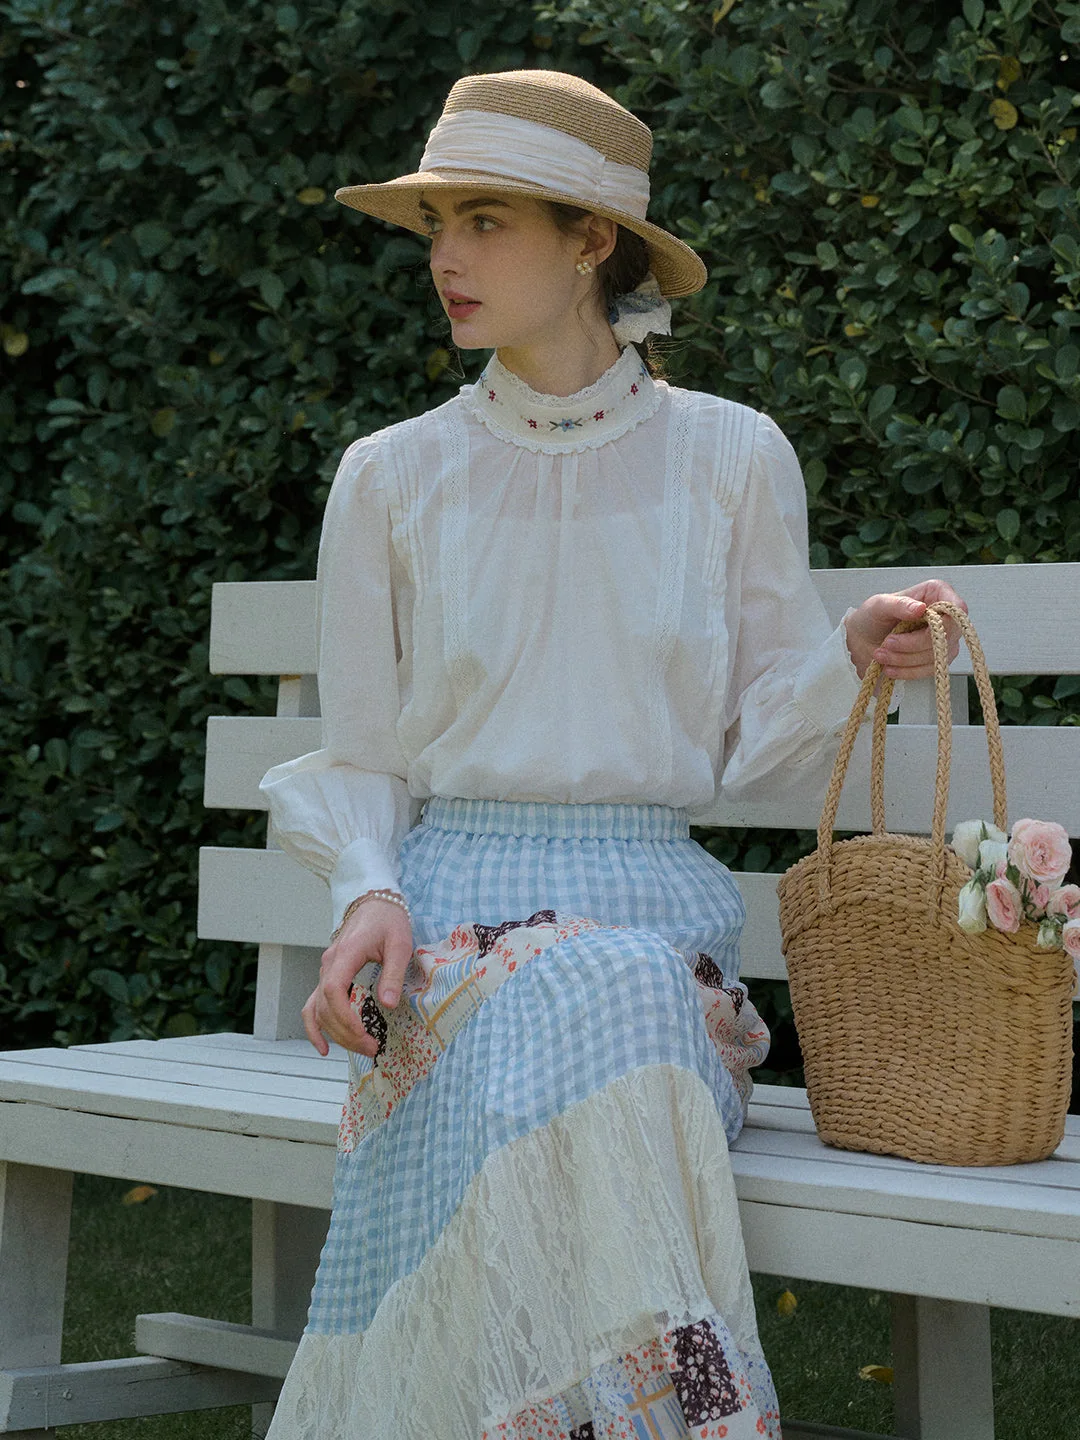
If embroidery is scattered across the front, a close color match to the shirt can keep the whole surface visually cohesive. A contrasting base may still work, but it has more chances to show between stitches or at the opening. Look at the Aylin Mock Neck Embroidered White Shirt as one example of a white shirt with embroidery at the neckline; its listed half-high collar also makes the neckline check especially relevant. The point is to respond to the placement, not assume every embroidered shirt needs the same base.
Choose a thread color—or step back to a neutral
If one thread color repeats clearly, try an underlayer in a similar shade. For example, with blue embroidery on a light shirt, a muted blue base can echo the detail and make the color choice feel deliberate. This works best when the shade is close enough to read as a connection, rather than an almost-match that looks accidental.
If there are several thread colors, choose a base that is already quiet in your outfit: white, cream, navy, or another restrained shade that suits the shirt. It does not have to match every thread. A neutral is useful when the embroidery itself supplies enough color, especially if you plan to wear patterned or colorful bottoms. Browse the available tops for examples of shirts with different colors and neckline details; use the actual garment’s visible palette to guide the base rather than relying on a color name alone.
Decide whether you want monochrome or contrast
Choose monochrome when you want the stitching to lead. A base close to the shirt’s main color reduces the number of competing color blocks. A white base under a white embroidered shirt, for instance, keeps attention on the embroidery and can make an open collar feel less stark. This approach may feel too blended if you want the layers to read separately, or if both fabrics are visibly different in tone.
Choose contrast when the shirt is simple enough to hold it. A dark base under a light shirt, or a light base beneath a darker one, can define the opening and make the layered outfit feel more graphic. Keep the contrast away from extra visual noise: if the embroidery already uses several bright colors, let the base be the quieter half. The blue Kylee Contrast Floral Embroidered Lapel Lace Panel Shirt is listed with floral embroidery and a lace neckline, so a high-contrast base should be checked carefully around both details rather than chosen by color alone.
Check where the shirt opens
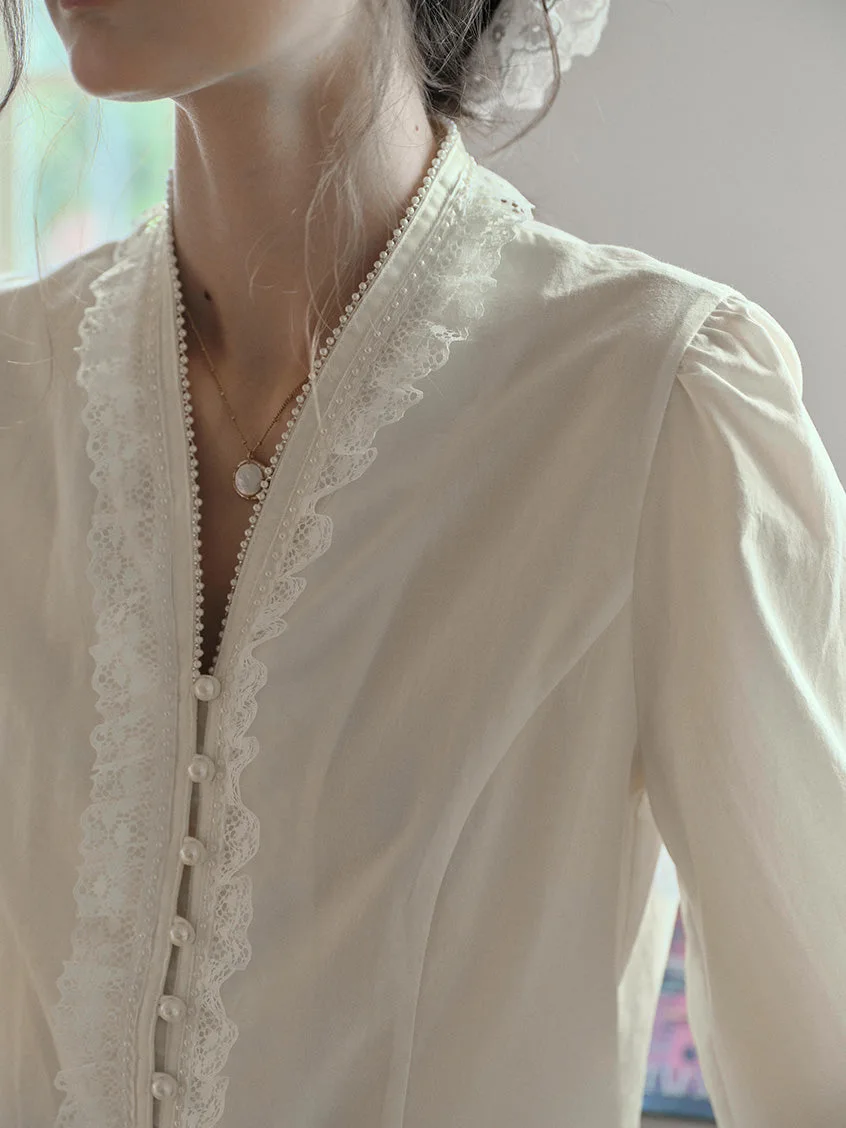
If the collar opens into a V, see whether the underlayer’s neckline sits below the visible embroidery and collar edges. A crew neck may show as a clean, deliberate line, but it can also crowd a narrow opening. A lower neckline may keep the shirt’s shape visible, though it offers less coverage. The best choice depends on how much of the base you want to see.
If the shirt has a lapel or button placket, check that the base does not bunch, twist, or create a second line that competes with it. A lapel shirt such as the light-blue Alessandra Embroidery All-Purpose Lyocell Shirt gives you a useful example to consider: its listed lapel collar and embroidery make the opening an important part of the visual balance. Keep buttons closed or open only as you intend to wear them; a base that looks unobtrusive under a closed placket may become prominent when it is open.
Run a two-minute mirror check
Before choosing between two bases, put on the shirt and the first option, then stand facing a mirror in the light where you expect to wear the outfit. Open and close the top buttons as you normally would. Turn slightly sideways and raise your arms. Look for three things: whether the base is visible where you want it, whether it peeks through around the placket, and whether its neckline interrupts the embroidery.
Now repeat with the second color. Take a quick phone photo of each version from the front; a photograph can make it easier to notice an unexpected color block or a neckline that looked fine close up. This is a comparison exercise, not a fit test for every movement or setting. If the base shifts or bunches, try a different cut or fabric rather than assuming a new color will solve it.
Use the simplest base that passes the check
Make the final call according to the shirt’s focal point. For concentrated collar embroidery, choose a base that leaves the detail clear and the neckline intentional. For embroidery spread across the front, favor a calm color relationship and check how much shows through the opening. For a restrained design, contrast can add definition; for a multicolored one, monochrome or a quiet neutral may be easier to wear.
If you are shopping for a shirt and already own a likely base, compare the neckline and colors before deciding. Check the garment’s listed details and consult the size guide for sizing information; styling suggestions cannot establish how a particular layer will fit beneath it. Keep the underlayer when it supports the embroidery without hiding, crowding, or competing with it. If neither option does that, choose a simpler neckline or a closer color relationship and repeat the mirror check.
Explore the pieces behind the ideas
Browse our blouses & tops for full product photographs and listed specifications. Ask our team for fit and availability, or visit wholesale partnerships if you’re buying for a boutique.